Tuesday, December 16, 2014

Thresher Shark with Yellow Rice and Swiss Chard

Swiss chard and yellow rice compliment the broiled Thresher shark
Thresher shark steaks
Thresher shark is my favorite fish to get in our SLO Veg box so far! Its dense. like steak, and has no little bones to pick through, so it is the perfect fish for me. It takes well to a marinade, and tonight I used the one featured on the SLO Fresh Catch blog. http://www.slofreshcatch.com/marinaded-and-broiled-thresher-shark/ It was a simple soy sauce, vinegar, olive oil and lemon juice marinade with some black pepper and minced garlic and fresh parsley, which I liberally sprinkled on top of each piece of fish. I let is soak in the marinade for about 45 minutes before putting the fish into the broiler for 7 or 8 minutes. I was going to flip it over, but the fish was done, so there was no need.

Sauteed Swiss chard
Prior to broiling the fish, I had started a batch of rice in the rice cooker. I added a tablespoon of my homemade onion soup mix, which contains turmeric and that added a nice yellow color to the rice. I also prepped some of the Rainbow Swiss chard that we got in our recent SLO Veg box, by trimming off the stems, slicing it into ribbons and soaking it in water before spinning it dry in the vegetable spinner. I chopped half a red onion and minced 3-4 garlic cloves and sauteed them in a butter and olive oil mixture. Then I added the cleaned Swiss chard, which filled up my large saute pan completely. I drizzled more olive oil on top and put the lid on to let it steam for a few minutes, then stirred it around and added a dash of Balsamic vinegar and some coarse salt.

Marinated Broiled Shark Steaks

1-1/2 pounds Thresher shark
2 tbs. soy sauce
2 tbs. Balsamic, rice or wine vinegar
2 tbs. lemon juice
2 tbs. olive oil
2 tbs. chopped parsley
3 cloves garlic, minced
freshly ground black pepper

Cut the shark steaks into 4 ounce pieces. Place them in a glass dish. Generously sprinkle on minced garlic, pepper and parsley on top of fish. Combine soy sauce, vinegar, lemon juice and olive oil and pour over fish. Marinate for half an hour, turning at least once. 
Remove fish to a foil lined pan and broil for 4 minutes on each side about 4-5 inches from heat. Brush with reserved marinade before turning. Fish is done when it flakes easily with a fork.

Yellow Rice

1-1/2 cups rice
3 cups water

Put rice, water and soup mix in rice steamer. Cook for 25 minutes until done.

Sauteed Swiss Chard with Onions (Swiss Chard) 
Recipe from SLO Veg

Yield: Makes 8 (side dish) servings,
Active time: 30 min
Total time: 50 min

Ingredients:
3 pound green Swiss chard (about 2 large bunches) 
2 tablespoons olive oil 
2 tablespoons unsalted butter 
2 medium onions, halved lengthwise and thinly sliced 
2 garlic cloves, finely chopped
 
Preparation: Cut stems and center ribs from chard, discarding any tough portions, then cut stems and ribs crosswise into 2-inch pieces. Stack chard leaves and roll up lengthwise into cylinders. Cut cylinders crosswise to make 1-inch-wide strips. Heat oil and butter in a large heavy pot over medium heat until foam subsides, then cook onions and garlic with 1/2 teaspoon salt and 1/4 teaspoon pepper, covered, stirring occasionally, until onions begin to soften, about 8 minutes. Add chard stems and ribs, 1/2 teaspoon salt, and 1/4 teaspoon pepper and cook, covered, stirring occasionally, until stems are just tender, about 10 minutes. Add chard leaves in batches, stirring until wilted before adding next batch, and cook, covered, stirring occasionally, until tender, 4 to 6 minutes. Transfer with a slotted spoon to a serving bowl. Cooks' notes: Chard can be washed, dried, and cut 2 days ahead and chilled in sealed bags lined with dampened paper towels. · Chard can be cooked 4 hours ahead and reheated over low heat on stove or in a microwave oven.  


Wednesday, December 10, 2014

Back to Basics: Basil Lemon Chicken

Chicken, lemon juice, and basil leaves. Plus some seasoning blend. That's it...easy peasy. 
I was thinking we have been getting a little sloppy with our healthy eating lately, adding too much starch and cheese, so I am paring it down. Tonight I prepared the food very simply: roasted vegetables, baked yams, oven baked chicken. Nothing fancy, but super flavorful and satisfying.    
I cut the chicken breasts into three long strips and seasoned them all over with a pepper-garlic-salt blend. Then I seared them in a skillet and finished them in the oven for about 30 more minutes. I drizzled on some lemon juice and garnished the chicken with a few lemon slices for effect, then tossed in several basil leaves to add aroma. 
Meanwhile, I coated the yams in olive oil, seasoned it with the blend and let them bake for 45 minutes. During the last 20 minutes, I added a pan full of broccoli that had been drizziled with olive oil, seasoned with the blend with a little Italian seasonings added in for more flavor. When it was done, I sprinkled on some Parmesan cheese just before serving. Of course, I put some butter on the yam...it makes it so yummy! I believe in real butter, real sour cream, etc., not the non-fat stuff. You don't have to use a ton of it, and its real and healthier. 
The yams, broccoli and basil all came from our SLO Veg box, just not all recently. I had so much broccoli at one point that I froze a bag of it. So that was defrosted tonight and roasted. The basil is a "living" plant that is on my kitchen window sill in a mug of water. I could plant it outside, but right now it look really pretty in the window and it is thriving, so no hurry.


Tuesday, December 2, 2014

T's bread

So my son comes up to me and says, "Hey, if you're not doing anything tomorrow, can you help me bake some bread?"
Um, huh? This is a kid who can barely tear himself away from his video games to go to school to learn how to make them. Now he wants to feed the world? I don't get it. But, hey! I'm game. Absolutely. Maybe he can even get a job as a baker somewheres or something. One can always hope!
So he had texted me this link for French bread. Great, I said, I will pick up some bread flour and yeast and we will make bread. It's a no-knead recipe, too, so all the better. 
So we put the flour in the mixer, add salt and yeast, and measured the temperature of the water we heated in the microwave for a minute--perfect 105 degrees. I sat back and supervised while Taylor did all the work. He started the mixer and got the dough going, then stopped it to change to the dough hooks. At that point, the mixer began squealing. It wasn't going to work...either the gears were worn out or the mixer was too old or whatever. I told Taylor to knead it by hand on the floured cutting board. So that was a good workout and a good lesson in bread making, too. He kneaded the bread for about 5 minutes, then put it into an oiled mixing bowl for the first rising phase. We left it on top of the stove where it was warm for an hour and a half. The bread rose nicely, meaning we didn't kill the yeast. That is one success all in itself. Taylor learned how to punch it down, form the loaves and let it rise again for 30 minutes. I put a little softened butter on the loaves, then he made his slices on top and transferred the loaves to a baking sheet. Then he put a little water into the small iron skillet we had preheated in the oven to make some steam, shut the door and set the timer for 25 minutes.
When it dinged, Taylor checked the bread with a digital thermometer. It read 190 degrees--perfecto! The bread was a very light golden brown. I personally would have let it go for another 5 minutes, but he wanted to pull it out. After cooling for 5 minutes, we couldn't resist slicing off the end and tasting it. Oh my! We grabbed the butter and cut everyone a slice to try. Yep, it was good...great, actually! What an accomplishment!

 The bread was a huge success.

Scalloped Hasselback Potatoes

OMGosh!!! These look too good to be true. Its raining outside and I am inside, helping my son bake his first loaves of French bread from a recipe he found, and watching Pioneer Woman. I was on her website, looking for one of the recipes from her show, when I stumbled upon this recipe for Hasselback Potatoes. We have nice big potatoes from our SLO Veg delivery, perfect for this recipe.

http://tastykitchen.com/blog/2011/10/scalloped-hasselback-potatoes/

I thought I had found the perfect way to bake potatoes when I discovered that you get a nice,crispy skin when you DON'T wrap them in foil. Just simply coat the potato in butter or olive oil, sprinkle with salt, and bake until done. Delicious! But this recipe, the Hasselback way, all sliced and slipped in with cheese and butter? It's gotta be divine!!!

I was already planning to back some fish using a new Mandarin-flavored olive oil we picked up from a local grower over the weekend, so I have my black cod marinating in it right now. I was thinking of making rice to go along with it, but now its going to be potatoes--big, cheesy, buttery potatoes. And cocktail sauce for the fish. Can't wait!

So I gathered up the ingredients: five large baking potatoes, Parmesan cheese, cheddar cheese, butter, olive oil, salt and pepper. I only had shredded Parmesan cheese on hand, not the block-style Parmesan-Reggiano, but I will make it work. See that picture? Now let's get baking!

Sunday, November 30, 2014

Zippy Spaghetti Sauce w Sweet Italian Peppers

I have blogged several times about making spaghetti sauce. I like it kind of chunky with bits of diced tomatoes an onion and mushrooms and maybe some squash or spinach thrown in for good measure. Today I had some sweet Italian peppers that I wanted to use, so I diced them up along with the onion and sautéed both in a pan with a dab of olive oil until the vegetables are soft. Then I scooped the pepper and onions into the blender added a can of Hunts spaghetti sauce and gave it a whirl. That incorporated the spiciness of the sweet Italian red peppers right into the sauce. I added another can of diced tomatoes, juice and all, plus a can of tomato paste, a pat of butter, and a scoop of sour cream to give the sauce some richness.
Next, I browned some Italian sausage in the pan, and then added water and let it sauté until the sausage was cooked all the way through. I slice the sausage into little circles and added it to the spaghetti sauce. I wiped out the pan, added a little bit more olive oil, and browned up the mushrooms, which were quartered, and added them to the sauce as well. Now I had a chunky, spicy sauce for our spaghetti tonight. 
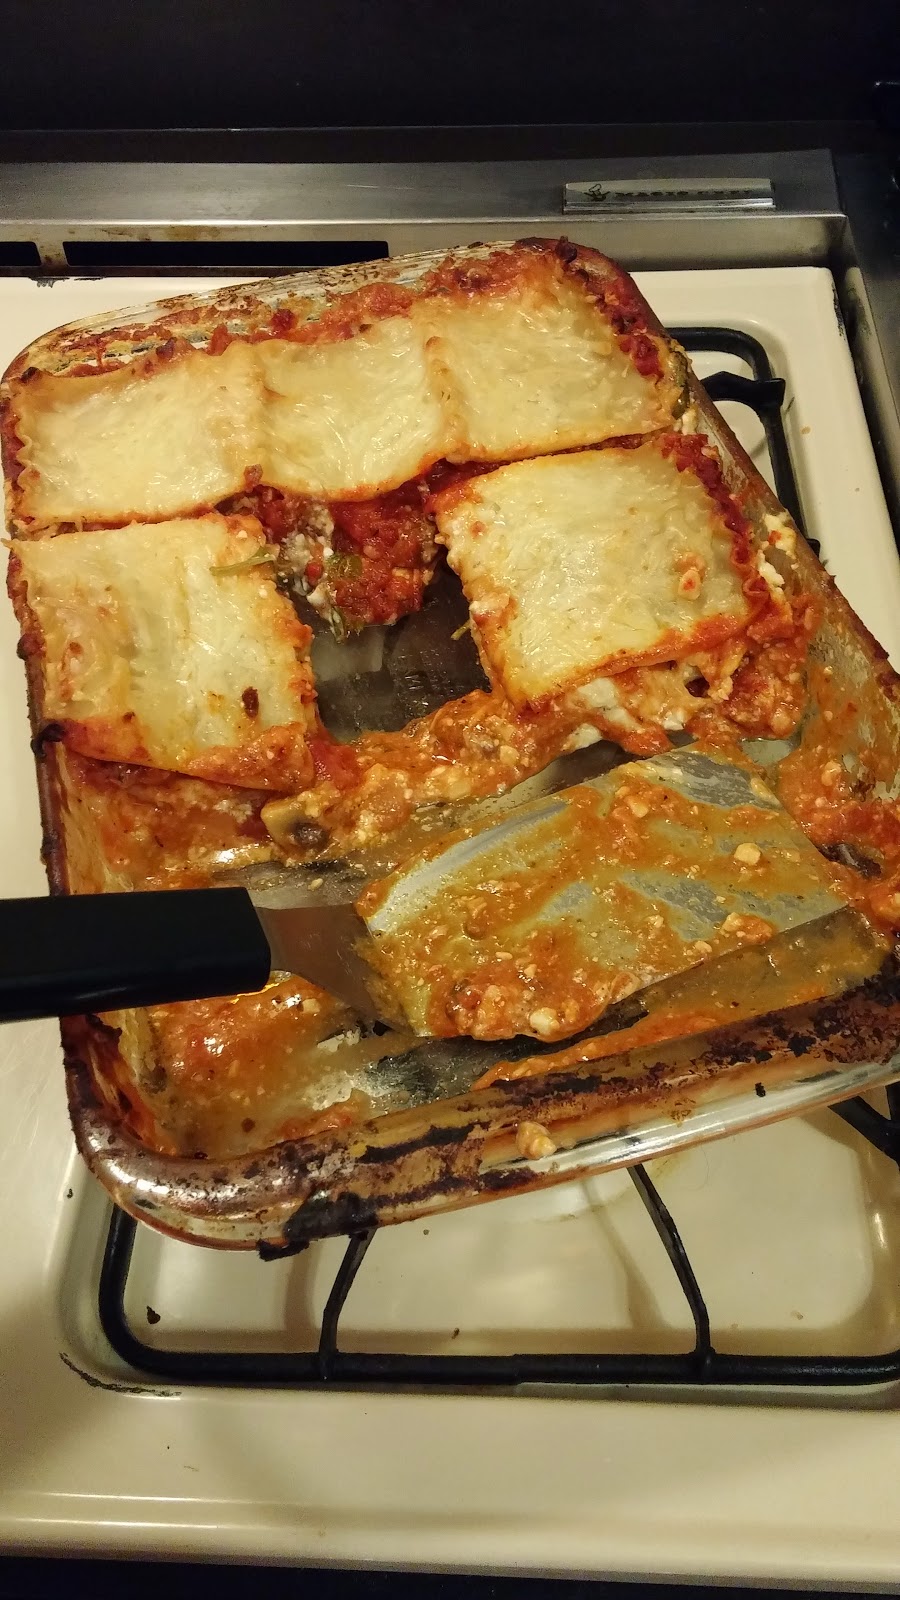
I would use this same basic sauce for my lasagne, only I would use ground beef for the meat component. I like to use cottage cheese mixed with parmesan cheese, basil and an egg instead of ricotta cheese, and add a layer of spinach on top of the mozzarella layers. If there is any spaghetti sauce leftover, we are having lasagne tomorrow!


Zippy Spaghetti Sauce

One sweet Italian red pepper, diced
One small yellow onion, diced
Olive oil
One package Italian sausage, mild or spicy
One package Baby Bella mushrooms, quartered
One can Hunts spaghetti sauce, 28 oz
One can diced tomatoes, undrained, 15 oz
One can tomato paste, 8 oz
One teaspoon butter 
One tablespoon sour cream


Sauté red pepper and onion in olive oil in a skillet until soft. Put in blender and purée with the can of spaghetti sauce. Pour mixture into a large saucepan. Add the diced tomatoes and can of tomato paste and stir. Bring to a simmer, add a pat of butter and simmer on low.
Meanwhile, sauté sausage in skillet until it is browned on two sides, then add some water to the pan. Simmer with the lid on for about 10 minutes. Drain off water and slice sausage into 1/4 inch thick slices. Add to simmering spaghetti sauce. In the same skillet, sauté mushrooms in a little olive oil for 2-3 minutes, add to spaghetti sauce mixture. If you want the sauce to be a little creamy, add a tablespoon of sour cream and stir in. Serve over pasta or use for lasagne.

Friday, November 21, 2014

Blue, Sugar Baby pumpkins...soon to be pies

Its pumpkin pie season! Ev'rybody gotta have that pumpkin pie. Its on every list for the Thanksgiving feast. Its on all the Starbucks frappuccino menus. Its on Martha Stewart, the Today Show, Rachel Ray, and Shape magazine. Breweries make their own pumpkin ale. Everybody has their own twist. 

My husband's best friend has an annual gig helping out at a local pumpkin patch down in Santa Barbara. When he and his lovely wife came up to visit us a couple of weeks ago, they brought us some pumpkins: a Sugar Baby, a Blue, several Jack-Be-Littles and some gourds. It was for my Fall table display, they said. I could put little tea lights in the Jack-Be-Littles...maybe. But I am not entertaining this year. Its for dessert, I thought! 

Our roommmate had his eye on the Sugar Baby. He would be making a pie this year for his girlfriend's family. Okay, so I will use the Blue. Never had a blue pumpkin before. I wonder if it will taste any different?

Well, probably. When I cut them in half today to roast them in the oven, the Sugar Baby looked just like a pumpkin inside: a nice orange color with a 2 inch thick pulp and a bunch of seeds. I scooped them out and separated them from the gooey strings. Those seeds could be salted and roasted and eaten as a nice snack. Then I cut open the Blue. The cavity was very small, as the pulp filled up the space, leaving only about a baseball sided inside hole, and a dense bit of stringy stuff where the seeds were attached. Hmmmm...it looked more like a regular squash, a butternut-type, inside. 

I baked them both together in the oven for one hour, until I could stick a fork in them. Then I took out the pans and let the pumpkins cool on top of the stove for another hour before touching them. I got a large serving spoon and scooped out all of the pulp into two separate bowls. The Sugar Baby was dense and stringy and a little dry in texture, while the Blue was moist, more squishy and not stringy at all. I was tempted to just mix the two together, but I think I will get the roommate's input first. But I am thinking the moistness of the Blue might balance out the dryness of the Sugar Baby very nicely and give them both better texture. From there, we can make two different pies and see who's comes out best! 

Tart Cranberry Sauce

Cranberry sauce should not come out of a can. That is all. Period.

Unless you're my Mom, who appreciated the convenience of canned foods, frozen foods, and ready-made gravy, or at least those little little powdered packets you mix with water. She even used instant potatoes! It wasn't that she didn't know how to make a scratch gravy from pan drippings, it's just that sometimes she was in too big of a hurry to bother. Unless it was Thanksgiving dinner, when Mom pulled out the stops and made gravy from the turkey drippings and got one of us kids to peel a whole 10 pound bag of potatoes for the big feast. She also had to make her pumpkin pies from scratch, using pumpkin pulp that she had boiled down in a big pot. Mom declared that this was the best kind of pumpkin pie there was. As long as she put enough sugar and spice and whipped cream on it, we didn't argue. Anyway, I don't ever remember Mom making cranberry sauce. I do, however, remember puncturing one end of the can of cranberry sauce and removing the entire lid from the other end so the jellied sauce could slide out in one whole cylinder. 

When I first got married and was learning to cook, I vowed to use fresh ingredients whenever possible. I always kept my refrigerator stocked with carrots, celery, broccoli, onions, potatoes, lettuce. I learned how to put together a lot of recipes like enchiladas and spaghetti and lasagna using some fresh ingredients, combined with canned sauces and dried herbs. I did use a lot of those Shilling or McCormick spice packets for gravy and spaghetti sauce and enchilada sauce in the beginning, but over time, mostly after I had accumulated dozens of different spices, I began making my own sauce blends. Eventually I started using fresh cilantro and parsley. Then one day I went outside and cut a few spears of rosemary from the hedge and skewered chicken on it and roasted it. That was a life-changing experience if I ever had one!

Fast-forward many years later when my second husband and I were cooking our first Thanksgiving turkey together. We had both become fans of the Food Network channel and liked trying out new recipes. We wanted to try brining the turkey. Instead of stuffing the turkey with dressing, we filled the cavity with rosemary and onions and lemons for aromatics and made some other side dishes like mashed sweet potatoes with pineapple and maple syrup, roasted green beans with lemon zest, garlic-mashed potatoes and pan gravy. Then we made our own cranberry sauce from fresh, whole berries. I used a recipe that called for maple syrup, orange peel and lime juice. It was the most delicious and memorable cranberry sauce I had ever tasted! The crazy thing was, that it was so easy to make. You just throw all the ingredients into a pot and let it boil. I vowed from then on that I would always make my own cranberry sauce to serve with turkey or fowl, which would also be brined from now on....we couldn't quit picking at that turkey!

For today's version of cranberry sauce, I simply scoured the fridge for what I had on hand. I found a lemon, some pomegranate seeds, and some pineapple tidbits in juice. After I rinsed the fresh cranberries, I dumped them in a pot and poured everything else on top of it, then added about a cup of water and a cup of sugar and brought it to a boil. After my first taste, which was inspiring, I added a dash of salt, a dollop of maple pancake syrup, and about a half a teaspoon of cinnamon. It was tart, tangy, lemony and cinnamony all in one, with just a touch of sweetness...perfect for an aromatic, savory turkey sauce.

It made enough for two pint jars, so I am giving one to my landlord and taking the other to Thanksgiving dinner at my daughter's house next week. It should keep in the fridge just fine for several weeks, but I am kind of afraid it's not gonna last that long! I keep tasting it!